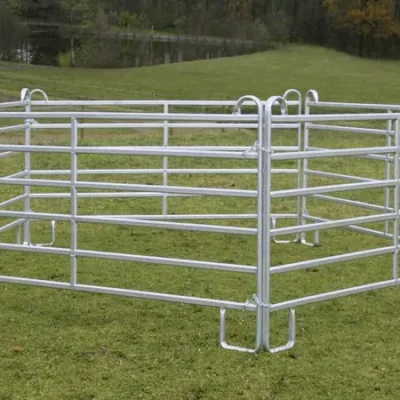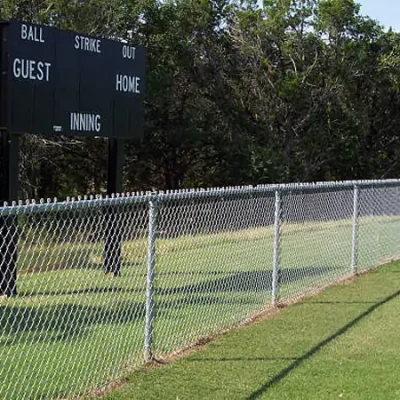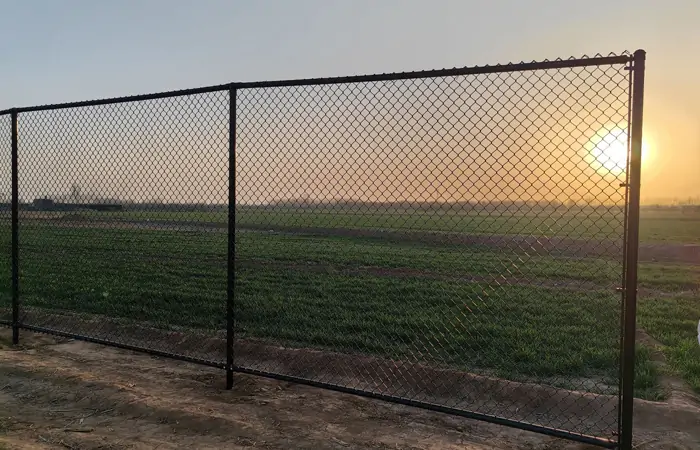
When it comes to versatile, cost-effective, and durable fencing solutions, chain link fences stand out as one of the most popular choices. Known for their affordability and adaptability, these fences are suitable for a variety of purposes, including residential, commercial, and industrial applications. Whether you’re looking to secure your property, keep pets safely contained, or simply define boundaries, chain link fences offer an excellent balance of functionality and aesthetics.
In this guide, we’ll take you from planning and preparation to the actual installation process and maintenance tips. You’ll find detailed instructions and insights to help you complete this project with confidence.
Table of Contents
ToggleSection 1: Planning Your Chain Link Fence Installation
Determine Your Needs
Before diving into the installation process, it’s crucial to determine why you need a chain link fence. This will influence decisions about height, materials, and installation complexity. Consider the following common uses:
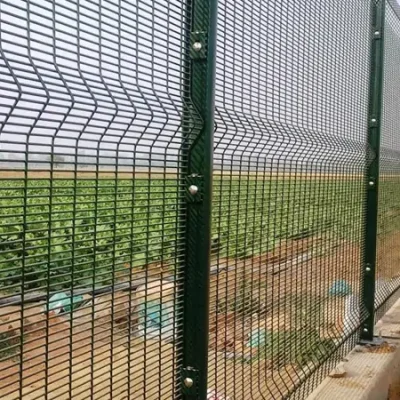
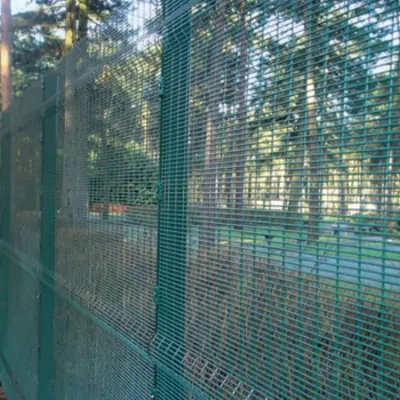
- Security:Higher fences with smaller mesh openings are often preferred for security.
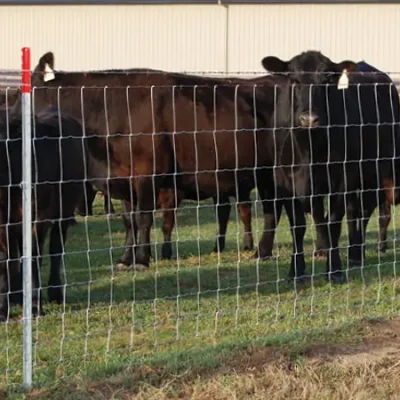
- Pet Containment:Ensure that the fence height and mesh size are suitable for preventing pets from escaping.
- Property Demarcation:A standard height may suffice if you’re simply marking boundaries.
- Measure the Area:Accurately measure the perimeter of the area where you plan to install the fence. Consider obstacles like trees, driveways, or existing structures that may affect the layout.
Checking Local Regulations and Permits
Before purchasing materials or starting installation, research local zoning laws and homeowners’ association guidelines. Regulations often dictate:
- Height restrictions:Some areas limit fence height for aesthetic or safety reasons.
- Material restrictions:Specific materials may be mandated or prohibited.
- Permits required:Many municipalities require permits for fence installations, which may involve submitting plans for approval.
To avoid costly fines or the need to remove your fence later, it’s important to check these regulations in advance. Contact your local zoning office or homeowners’ association for guidance.
Choose the Right Material
To ensure the longevity of your chain link fence, consider the following options:
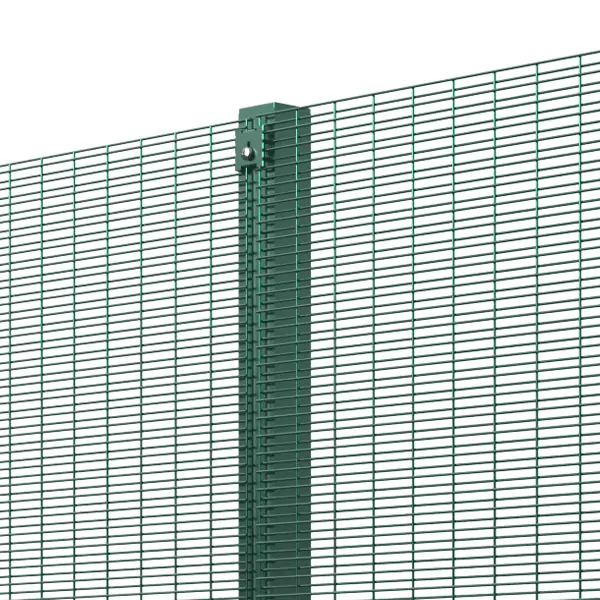
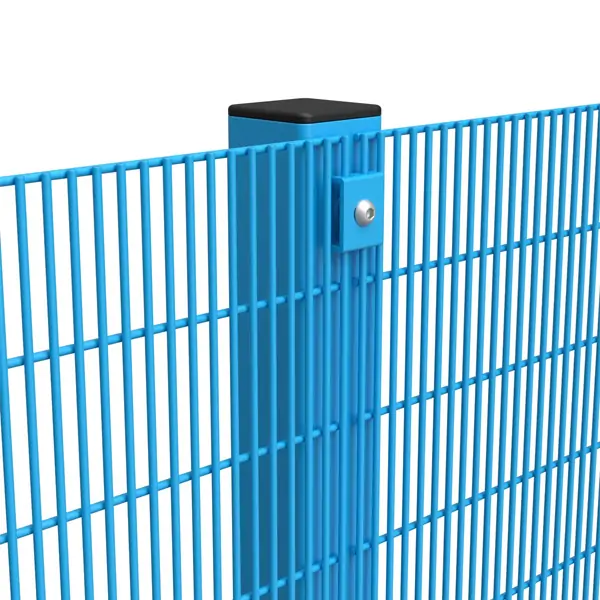
- Stainless steel wire: Best quality, expensive, customizable.
- Galvanized wire: Affordable and most common choice, very rust-resistant.
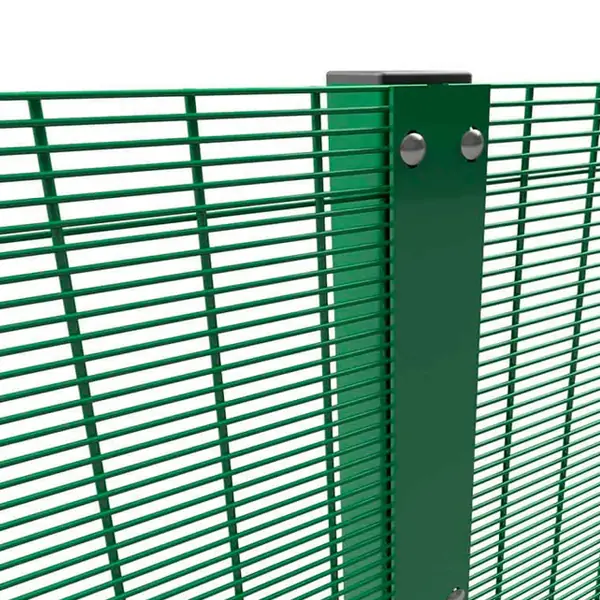
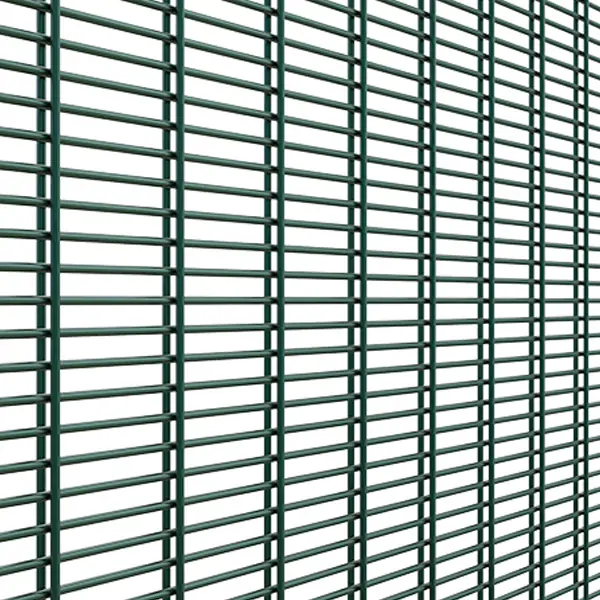
- PVC coated wire: Available in a variety of colors, provides additional weather protection and enhances aesthetics.
- Aluminum wire: Lightweight and corrosion-resistant.
Required Materials and Tools:
- Chain link fabric
- Fence posts (line posts and terminal posts)
- Top rails
- Tension bars and bands
- Tie wires and clips
- Concrete (if setting posts in concrete)
- Tools: Post-hole digger, level, wrench, measuring tape, pliers, and more
Cost Estimation
The following factors ensure your project stays within your financial budget:
- Materials: Compare the costs of different material options and calculate the total cost based on your measurements.
- Labor: If you hire a professional, labor costs can have a significant impact on the overall budget. Get quotes from multiple contractors to find the best price.
- DIY vs. Professional Installation: DIY can save money, but it requires time, effort, and tools. Weigh the pros and challenges of each method to decide which is right for your needs.
Section 2: Preparing for Installation
Gather tools and materials
Before you begin the installation, gather the tools and materials you will need.
Required tools:
- Digger or auger
- Level and tape measure
- Wrench and pliers
- Sledgehammer
- Shovel and trowel
- Rope and stakes
Materials:
- Chain link fabric
- Fence posts (line and terminal)
- Top rail
- Tension bars and bands
- Tie wires and clips
- Concrete mix (if setting posts in concrete)
Site Preparation
Begin by marking the fence line with stakes and string to outline the perimeter of the fence. Clear the area of obstacles such as rocks, plants, or debris that could interfere with placing the fence.
- Marking Boundaries: Use a tape measure to ensure accurate measurements and place stakes at each corner of the intended fence line. Run a string between stakes to create a clear visual guide.
- Clearing the Area: Remove obstacles like rocks, plants, and debris to ensure a smooth installation process.
Measuring and Marking
Accurate measurements are essential for proper post spacing and alignment. Calculate the distance between line posts, typically 6 to 10 feet apart, and mark their positions along the string line.
- Calculating Post Spacing:Determine the ideal spacing for line posts, considering the total length of the fence. Typically, posts are spaced 6 to 10 feet apart.
- Marking the Layout:Use spray paint or chalk to mark positions for each post, ensuring precise alignment.
Section 3: Installing the Fence Posts
Digging Post Holes
Use a post hole digger or auger to dig holes deep enough to securely fasten the posts.
- Depth and Width: For most fences, dig holes at least 2 to 3 feet deep and approximately 8 to 10 inches wide. This ensures the posts are sturdy and resistant to movement.
- Spacing and Alignment: Pay close attention to spacing between posts, ensuring consistent alignment. Use the string as a guide to maintain straight lines.
Setting the Posts
Once the holes are dug, set the terminal and line posts. Ensure they are plumb and aligned before securing them in place.
- Concrete vs. Soil: Decide whether to set posts in concrete or soil. Concrete provides added stability but requires time to cure. For concrete setting, mix the concrete according to the manufacturer’s instructions, then fill each hole around the post, ensuring the post is level.
- Leveling and Aligning: Use a level to check that each post is plumb. Adjust as necessary before the concrete sets. Check alignment frequently to maintain a straight line.
Allowing Time for Concrete to Set
- Curing Time: If you’re using concrete, allow sufficient time for it to cure before proceeding with the installation. Generally, this takes 24 to 48 hours.
- Protecting Posts: Use temporary braces or supports to keep posts upright during curing. This ensures they remain aligned as the concrete sets.
Section 4: Attaching the Chain Link Fabric
Installing Tension Bars and Bands
- Positioning Tension Bars: Insert tension bars through the end of the chain link fabric and attach them to terminal posts using tension bands.
- Securing Bands and Caps: Use tension bands to connect the tension bars to the posts. Ensure the bands are tight to maintain tension in the fabric.
Unrolling and Attaching the Chain Link Fabric
- Unrolling Method:Lay the fabric flat on the ground, ensuring it’s oriented correctly. Avoid tangling by handling the roll carefully and enlisting help if needed.
- Attaching Fabric:Begin at one terminal post and secure the fabric using tension bands and tie wires. Work your way along the fence line, ensuring uniform tension and alignment.
Securing the Fabric
This step ensures the fence remains taut and resistant to sagging.
- Ensuring Uniform Appearance: As you secure the fabric, check for any areas where tension may be uneven. Adjust as needed to maintain a straight and uniform appearance.
- Using Tie Wires and Clips: Attach the fabric to line posts with tie wires or clips, spacing them evenly for consistent tension.
Section 5: Final Adjustments and Finishing Touches
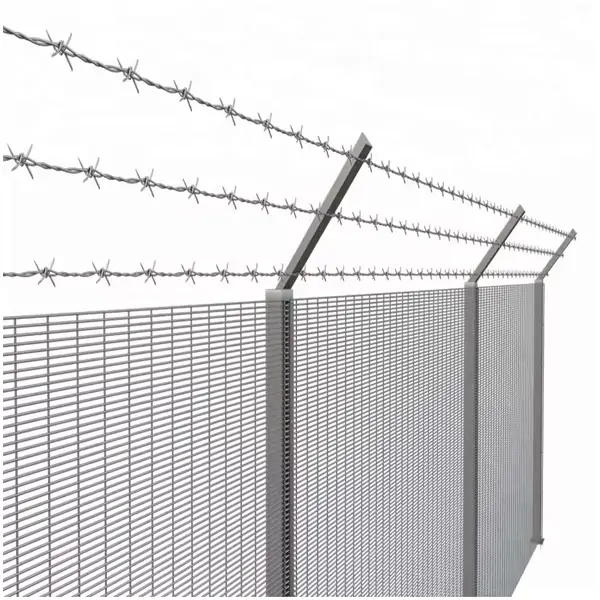
Installing Top Rail and Tension Wire
Adding a top rail and tension wire enhances the stability and appearance of the fence.
- Top Rail Installation: Attach the top rail along the length of the fence, connecting it to each post with rail ends and brackets. Ensure it’s level and securely fastened.
- Tension Wire Addition: Install tension wire along the bottom of the fence for added support and to prevent sagging. Secure it tightly to the posts.
Adding Gates and Accessories
If your fence includes gates, it’s time to install them. Select gates that match the style and size of your fence.
- Gate Selection: Choose a gate size and type that suits your needs. Swing gates are common for pedestrian access, while sliding gates work well for driveways.
- Hinge and Lock Installation: Attach hinges to the gate and post, ensuring smooth operation. Install locks or latches for added security.
Inspecting and Making Adjustments
Before you consider your installation complete, to ensure everything is aligned and secure, check it thoroughly.
- Alignment Check: Walk along the fence line and check for alignment issues or irregularities. Adjust any misaligned sections.
- Tension and Security: Make sure the fabric is taut and all components are securely fastened. Make any necessary adjustments for optimal performance.
Section 6: Maintenance Tips and Troubleshooting
Routine Maintenance
Regular maintenance keeps your chain link fence in top condition and extends its lifespan.
- Cleaning and Rust Prevention: Clean the fence regularly to remove dirt and debris. Apply rust-preventative coatings if necessary.
- Damage Inspection: Periodically inspect for signs of wear or damage, such as bent posts or loose fittings. Address any issues promptly to prevent further deterioration.
Common Problems and Solutions
Chain link fences can experience common issues over time. Here’s how to address them:
- Sagging Sections: Tighten loose wires and check for proper tension. Adjust or replace components if necessary.
- Loose Fittings: Check all bolts, clips, and ties for tightness. Replace any that show signs of wear or damage.
Enhancements for Longevity
Consider enhancements to improve your fence’s longevity and functionality.
- Protective Coatings: Apply coatings to resist rust and corrosion. This is especially important in areas with harsh weather conditions.
- Regular Adjustments: Tighten tension wires and ensure posts remain secure. Regularly check for alignment and tension issues.
FAQ
Can you provide a diagram of chain link fence installation?
Of course. We will put the wire mesh fence installation diagram in the product packaging so that you can find it at any time.
Can you provide a video tutorial on chain link fence installation?
Yes, if the installation drawing is too complicated, we will provide you with the installation video link.
Can I buy chain link fence installation tools locally?
Of course, you can buy the tools you need at your local hardware store.
How much does a 4-foot chain link fence installation cost?
Specifically, you need to provide accurate specifications, materials, surface processing methods, etc. The average cost of a 4-foot high chain link fence price ranges from $8 to $20 per linear foot, with the national average being around $12 per linear foot.
Conclusion
Installing a chain link fence is a rewarding project, and by following the steps in this guide, you can achieve a professional installation that fits your needs.
Recap of Key Steps
- Planning: Determine your needs, check regulations, and choose materials.
- Preparation: Gather tools, prepare the site, and measure accurately.
- Installation: Set posts, attach fabric, and make final adjustments.
- Maintenance: Perform routine upkeep to ensure long-lasting performance.
Benefits of a Well-Installed Chain Link Fence
A properly installed chain link fence offers numerous benefits, including:
- Security: Protects your property and provides peace of mind.
- Durability: Resistant to weather and wear, ensuring long-term functionality.
- Aesthetics: Enhances property value and curb appeal.
Encouragement for DIY Enthusiasts
Whether you’re a seasoned DIY enthusiast or new to fence installation, this project is achievable with the right tools and guidance. Take pride in your work and enjoy the satisfaction of completing a project that enhances your property.